Showing posts with label Traditional. Show all posts

Thursday, 5 December 2013

CDDA - Life drawing - Woman model

This week at life drawing we had a female model making it a much more interesting session with the different shapes and shadows to be drawn. We started with 5 minute poses which went okay, it was quite a lot different from drawing our normal male model. The main difference that I struggled with was the size of the model, a slim build, which was very different to our other model.


We then did a 25 minute drawing. This one went quite well, I like it from the hips up. The legs are too thin and bend slightly. I also decided to use orange for highlights and my charcoal for the shadow giving a nice effect. I was pretty happy with this.


Lastly we did a 45 minute drawing. I used the same medium again. It went pretty well, I was really happy with the shapes and I felt I got the general idea of the shadows and highlights on her. I drew her face which I was pretty happy with too though I didn't have time to add colour and shadow. 


Friday, 22 November 2013

CDDA - Life drawing no model

This week at life drawing our model was absent again so we drew pictures of poses that couldn't be done by a single man. We were given 5 minutes to draw structure and add some linework then 10 minutes to add to the picture. Whilst it was kind of interesting, I didn't really feel that it was useful to me or my skills. I also got quite bored by the end. It was an interesting yet mostly useless session.


Sunday, 17 November 2013

CDDa - Life drawing - Texture

These are my life drawing sketches from last week. Sorry for the bad images, they have been rolled up all weekend as I had to leave straight after the life drawing session. This week the focus was on texture. I used a charcoal pencil but would have preferred some actual charcoal this week, I feel that would have been easier to get more onto the paper with. Our model was sat on a dark, shiny bean bag with 2 different fabrics covering parts of it. My first 2 drawings are 10 minute sketches near the start of the session. The first was just me getting warmed up.


The second is better, I began to add a little texture but too slowly. 


My third drawing was much better, we had 15 minutes for this. This time I quickly got the model into the picture and started detailing the area. I didn't finish all the texture but I feel that I at least showed that the different objects he sat on were different textures and materials. 


This was a 45 minute sketch. I spent most of time focused on the robe, the theme was textures after all, and feel really happy with the finished robe. It was quite a heavy, large robe and I feel that I did well with this sketch. The material folded in a similar way to the sleeve ends of my Dwarfs undershirt for my character and I feel that I may be able to use this image for reference on the different kinds of folds. 


Sunday, 10 November 2013

CDDA - Character full body

I finished off a digital colour render of my character today. I'm happy with what I ended up with at the end for the most part and it has helped me define who he is but I also came across a few issues that I would like to fix in future art. One of these is his belt. I've simply been drawing a belt that you can buy in town in the real world which is not fitting for a Dwarf blacksmith in my opinion so I redesigned that. I also have come up with a range of different shapes for the top of the apron as I struggled to decide what it looked like. The shape of him is a little too tall and thin as well, I need to make him more Dwarf like. Lastly, I would like to experiment with different colour schemes which I may simple overlay on this picture at a later date. As for the current colours, I like the red shirt and black trousers but am not too sure of the apron or boots. The boots seem a little too clean for someone who lives in a mountain whilst I'm just not sure if I like the apron or not. But overall I'm happy with what I got. 


Below are a few quick sketches of different shaped apron neck hole things. I like the 3rd from the left design on both rows, a simple round neck hole. I also like the bottom right design but don't think it suits an apron really. I think that I will probably use the bottom row, 3rd from the left design but I am not sure for now. 


Below are my belt designs. I wanted something more intricate and 'Dwarfly' for his belt. First of all, I dislike the bottom right design, it's boring and not intricate. The top left design is better than my original belt but still not what I'm really looking for. I really like both of the other designs. The bottom left looks really cool yet the top right seems practical, intricate and has hard edges, something I believe to give quite a 'Dwarfly' look. I will probably use the top right design but may end up using the bottom left if it looks better.


Monday, 4 November 2013

CDDA - Life Drawing - Pastels

 This week in life drawing I used pastels. Having little to no experience with the medium, the exercises proved difficult but more rewarding than using my normal choice of pencil. We started off with 4 different 10 minute poses centered around a magic ball of sorts. As you can see with my top piece of art I struggled initially to get the lines I wanted but as you go down the page I become more comfortable with the pastels eventually ending with a picture with a range of shading which I was very happy with.


We repeated the task after this but with only 5 minutes per picture and we were told to try and use 2 different colours for light and dark. The action set was based around 2 small swords. The first image I did not have time to add any red but after this I managed to do the task and learnt a few things. First of all was to pick 2 colours which go together better than green and red which does not give a good image effect. As for the horse head, it was Halloween and our model wanted to get into the spirit of things.  


We ended with a 30 minute pose. I did this larger than most of my art on A3 paper. Again we were told to put a lot of emphasis on light and dark by using 2 different colours. I chose a dark blue for the shadow and a light yellow for highlights and feel that these go together a LOT better than green and red. The exercise was very interesting and I like the end result I had. I did the line work very quickly so I could get a good amount of time on the colours and this shows a little but it is worth it for the effect of the colours. I really like how all this came out in the end.


Friday, 18 October 2013

CDDA - Life Drawing Session 3

This week in life drawing we had a focus on perspective and short poses. The first piece of art we were directed to do was a drawing focusing on perspective. We were allowed to choose any kind of perspective we wanted so I went with a simple one point as I'm not very confident with perspective artwork. We were told to populate the page with simple blocks at first and then draw the model at the forefront of the picture. We then had to draw the same pose in the middle of the picture, still in the same proportions as the front picture using the lines from the vanishing point. We then drew him in a new pose standing up at the background of the picture, still to scale. I managed this quite well I think even though I struggled to add the detail because of the size of my drawings.


Next we went onto doing very short poses showing a set of movement using weaponry. The first set used nun-chucks and we were given only 2 minutes to draw each pose. This meant getting in the basic look of the body, focusing on angles of limbs and where the joints were. I enjoyed this and I like what I came out with.  


The next set of drawings we were given 3 minutes to draw and the weapons featured were small short swords. This time through I had a minute to sort out the actual body lines after blocking in the skeletons angles and joints so they look quite a lot better this time. I really enjoyed this exercise and could definitely see the benefit of it. 


The last 30 minutes was spent on a longer pose focusing on our perspective of the room. I am a bit mixed about this picture. I really like the full body image of our model, I feel I got the material of his robe and his pose down well (yet the legs are a little short sadly). But I got bogged down in that and had to rush to get any other parts of the image in before we finished.


Wednesday, 16 October 2013

CDDA - Environment Ideas

 I came up with a few environment design ideas today, revolving around the idea of Dwarfs. My first idea is just a simple hallway showcasing Dwarf architecture and patterns. If I was to use this idea I would further populate the scene using jewels and weaponry, two items associated with Dwarfs.


My second idea is that of a more basic Dwarf kingdom. This would be more relevant when put together with my character history and ideas as the Dwarf is a smith and they are not that technologically advanced. It shows a curve within a cave tunnel with a forge and random items littered about leaving only a small path for Dwarfs to walk on. If chosen, the design's forge would be larger and more elaborate, more populated with random items and the walls would be very rough and quite natural.


Below is a sheet showing different tools and machines that could feature in a Dwarf forge. It shows ways of transporting items, crushing metal, heating a furnace, metal work surface, anvil and small mortar. These would populate the scene and help give it a busy atmosphere which is what I believe a Dwarf's forge would have.


Out of the 2 environment ideas I drew, the second one appeals more to me but is still not what I am looking for. I think that I will choose to draw a forge for my environment. I want it to be big but with a busy atmosphere. I want it to be cramped, full of machines, weaponry and lots of things happening at once. These designs have helped me make a step in the right direction. 

Friday, 11 October 2013

CDDA - Character costume

Yesterday I finished off creating a history for my character, giving me an idea of what and who he is. My starting point is that he is a smith, not in the best of places, at war with the Elves and is among others of his race. With these ideas (and others in the history) I had started getting an idea of what he would look like. I decided to start off by coming up with clothing first. I was quite happy with the ideas I came up to start with. My initial sketch of a top seemed too much of an unnecessary piece of clothing, something a poor community at war would not use. I redesigned it as something similar to an apron, something with functionality and purpose. I wanted to give him some sleeves as well so I gave him an undershirt too. Boots wise I wanted something heavy and quite elaborate as a smith would need hard boots anyway so they may as well be nice! I came up with boots that have layers on them which I though looked good. I then came up with a rough design for his hammer as every smith would need one.


Next I decided to stay with the same design and try to take it forward, give it more of a finished look. I gave the apron a belt to keep it tight to the body, keeping it out of the way of my characters work. I also added pockets onto the legs and the chest for tools to sit in. I decided to make trousers and shirt out of the same material, something light like cotton so that it would be breathable. The apron was also extended to cover the top of Dwarfs legs, stopping burns. I kept the same boot design as originally drawn. I then drew the costume in a pose that would be commonly seen in a smithy. I quite like how it sits on a worker but would like to add something to the upper apron but I do not know yet. Once I am happy with the apron I will probably start to work on faces and facial hair. 


Thursday, 10 October 2013

CDDA - Life drawing session 2

During my life drawing session this week we focused on learning new ways to get the correct proportions in an average human body. During the last sketch we focused more on shadows and putting someone in a scene but still focused on correct proportions. The first method we looked at was to simply draw a stickman of the model, showing lengths and angles of the limbs and locations of important body parts such as the hips. I used to use this method when I first started doing any artwork so it was very familiar to me and I still found it helpful during this session.


The other method we looked at was using 8 spaces to help create the body. These spaces were each the size of the human head as 8 heads is the same height as the whole body. Whilst helpful, I found that I didn't really enjoy this method as much as the stickman. Not that it didn't help me create the correct proportions, I just find other methods easier. 


The next picture shows 2 drawings of my model with incorrect proportions. This is because we did an exercise where we had to make certain spaces different sizes using the 8 heads method. This meant that certain areas of the body were stretched longer whilst some had less room. This was fun and shows how it could be used to create creatures or humans who are not perfectly average size.


My last picture was focusing on light and dark whilst putting someone in a scene. The lighting within the life drawing room could not be controlled this week so the lighting changed with the sky outside, sadly making realistic shading all over difficult. I enjoyed this exercise and found that putting someone in a scene can make it look better overall. It was also a good exercise in that I learnt a bit of how the human bodies structure looks between light and dark. 


This session did help me a lot even though we did not practice drawing with my preferred method of getting correct perspective (using a skeleton with joints, similar to the stickman). Putting the model in the scene was the most useful part of the session as it is something I have always struggled with and I now feel more confident towards future work. 

CDDA - Dwarf inital sketches

After the completion of my mindmap I tried to imagine what my different races would look like and what they do and try to achieve as a race. I found it difficult to get a feel for any less intellectual creatures like giants which narrowed down my choices to vikings, gnomes, dwarfs and elfs. I decided on choosing the dwarfs above the others as they have always interested me in games and novels, often being shown as brash or cold which I felt did not capture my idea of a dwarf. Before looking into research I did some sketches from my ideas of what a dwarf is, trying to get proportions and build accurate mainly. 


Tuesday, 8 October 2013

CDDA - Skeleton task

I was set the task of printing out 5 skeletons doing different poses and then drawing bodies over the top of these, teaching me how bones, muscle and skin all effect each other.


CDDA - Chess characters task

 We were set the task of coming up with 3 characters based around the theme of chess. I decided that one force would be of humans that consisted of warriors and wizards whilst the other army was led by demons and creatures controlled by them. My human is a bishop, the giant is a castle and the zombie demon is a pawn.


CDDA - Life drawing session 1

I had my first life drawing session at uni this week which was treated as an introduction in which we were simply left to draw the model as we though best. We did 5 minute poses for the majority of the session.


At the end of the session we did a 30 minute drawing of the model allowing us a little more time to draw details and add shading. 


Intro to 3D - Vending machine concept progression


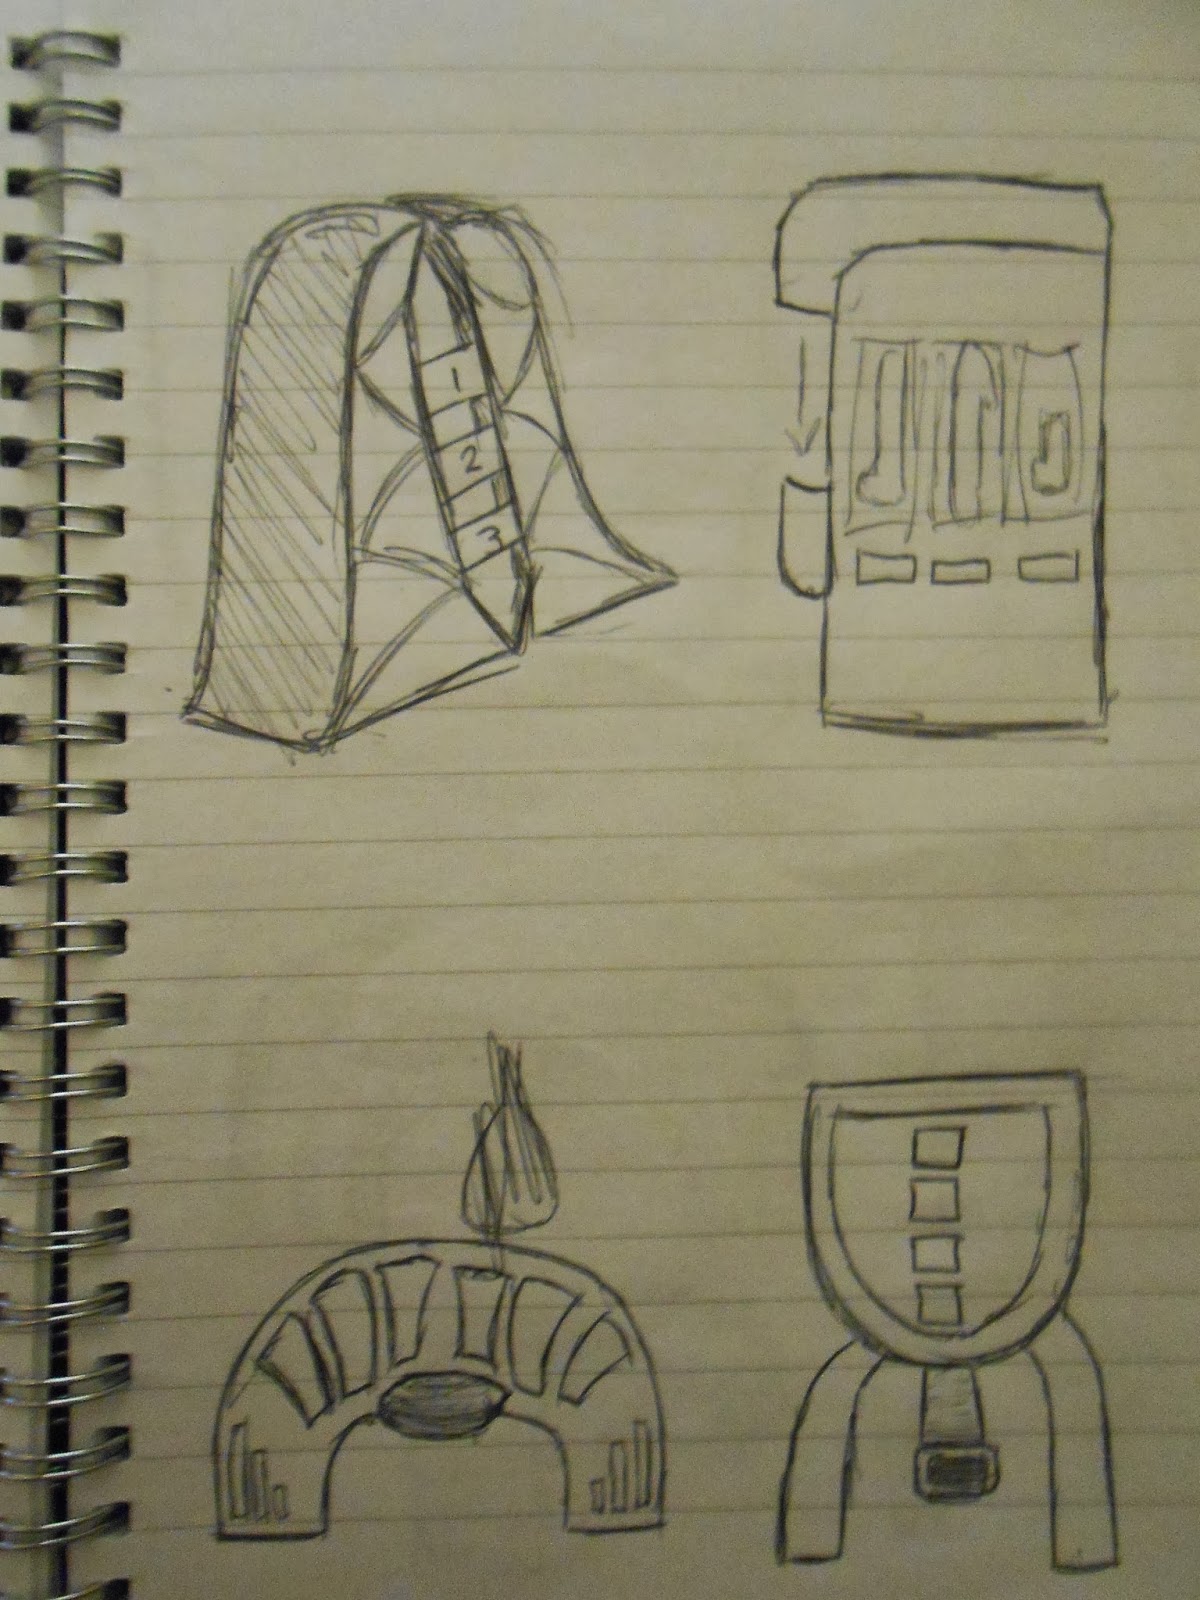
I was set the task of designing, creating, texturing and rendering a vending machine for my Intro to 3D module at University. These are some of my initial design sketches:


I decided on the machine on the lower half of the page above. I went and did small thumbnails of details on the vending machine, a mood board giving a feel of the object and a digital drawing of the machine from the front and side views. 


I then progressed the design further by creating 4 pictures of the machine from different angles, all to scale, a colour perspective drawing and a digital board for it.


Next I am going back to make changes to the design, namely how the bottles dispense, a coin slot, a form of power and to add more textures to the perspective drawing to give it a more real look.